Needle-turn Applique
Needle-turn applique, also known as hand applique, is a traditional fabric technique where pieces of fabric are cut into various shapes and sewn onto a larger background fabric, creating decorative patterns or images.
The technique allows for great creativity, as the shapes can range from simple geometric forms to elaborate and detailed designs, such as flowers, animals or even entire scenes. Here are two popular methods of hand applique.
Freezer-Paper Method
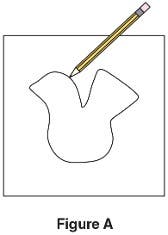
1. On the paper side of the freezer paper, trace around the applique shape to create a pattern (Figure A). Do not include seam allowances. For directional shapes, reverse the pattern before tracing. Trace the number of pieces needed to complete the project.
2. Cut out the freezer-paper shapes on the traced lines. Note: You can layer, pin and cut three or four layers at a time without sacrificing accuracy.
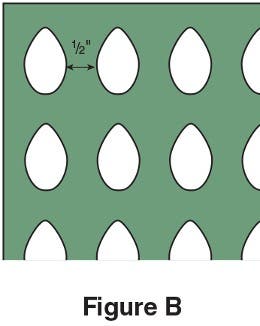
On the wrong side of the fabric, place and press the freezer-paper shapes with the waxy/shiny side down. Leave 1/2" between shapes (Figure B). Note: The freezer-paper waxy/shiny side will stick to the fabric when heated and can be reused several times.
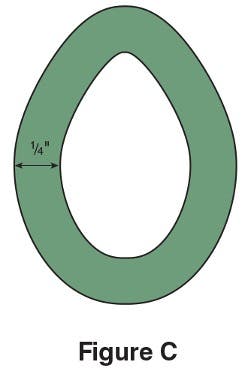
3. Cut the shapes out leaving a 1/4" seam allowance beyond the edge of the freezer-paper shape (Figure C).
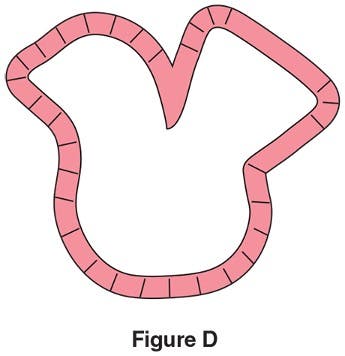
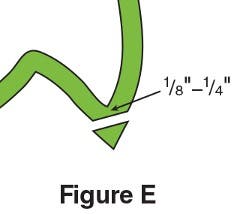
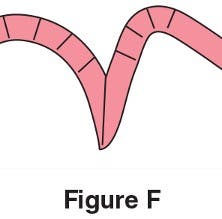
4. For curved shapes, clip into curves almost to the paper (Figure D). Clip sharp points 1/8" to 1/4" beyond the point of the freezer-paper pattern (Figure E). Clip inside angles almost to the drawn line (Figure F).
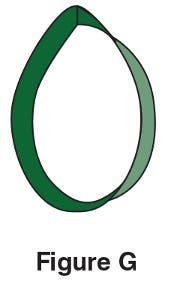
5. Fold the edges of the fabric over the freezer paper and iron it in place using the point of the iron. (Figure G). Note: You can apply spray sizing (not spray starch) to the seam allowance before turning to provide a stiff edge. Spray sizing into a dish and use a cotton swab to moisten the seam allowance before turning. Carefully press the seam allowance from both the right and wrong side.
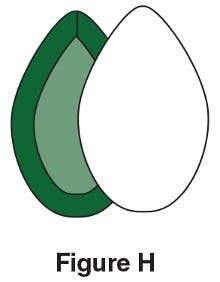
6. When the edges are smooth, remove the freezer paper (Figure H). Press again if desired.
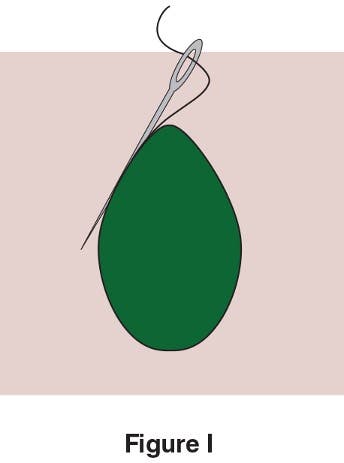
7. Position the prepared shape on the background fabric. Blind-stitch the piece in place using matching thread. Knot the thread end and insert the threaded needle into the folded edge, hiding the knot in the fold. Catch a few threads of the background before pulling the needle out to take the next stitch (Figure I). The stitches should not show.
Turned-Edge Applique
1. Prepare a template for the applique shape without seam allowance from Mylar heat-resistance template plastic or freezer paper. Trace around the shape onto the right side of the fabric using a fine-point pencil.
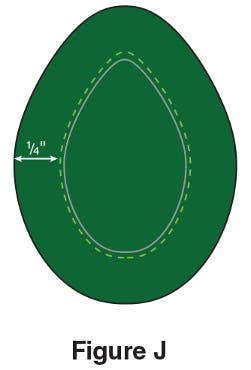
2. Cut the shape out leaving 1/8" to 1/4" beyond the marked line. Use thread to match the fabric to machine-stitch on the outside edge of the marked line (Figure J).
3. Position the shape on the background fabric and pin it in place. Note: If you intend to do a lot of hand applique you may want to invest in some applique pins which are much smaller and finer than a regular pin.
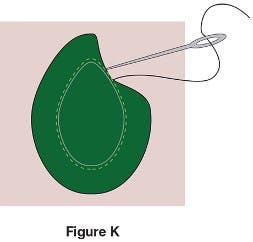
4. Turn under the fabric edge along the outer edge of the marked line (the needle can be used to help turn the fabric edge under). (Figure K). Blind-stitch in place as you turn the edge in a little at a time.