Fussy Cutting
The quilting term "fussy-cut" refers to selectively cutting fabric to create patch or unit shapes that showcase a particular motif or part of the fabric pattern.
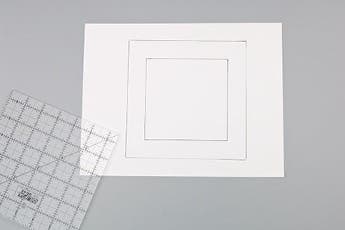
1. Make a fussy-cutting template from a piece of cardstock, cardboard or frosted plastic template material. The template should be cut 2" larger than the desired size of the finished fussy-cut shape. For example, if the fussy-cut finished size is 4" square, your template material will be cut at 6" square.
2. Draw the size of the finished fussy-cut shape onto the template material, then add a 1” border all the way around.
3. Cut out the center fussy-cut shape so you have a viewing-window template the finished size of the patch/unit needed.
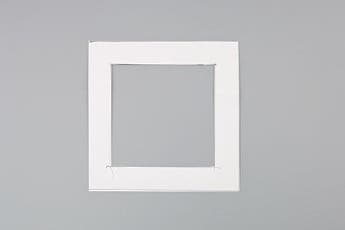
4. Use this window to audition areas of the fabric to make sure they will fit within the finished shape size and not disappear into the seams.

5. When you are happy with the fabric motif in the viewing window area, use a water-soluble marker to trace around the inside of the window.

6. Add a 1/4" seam allowance around the traced area and cut out the shape.