Curved Piecing
There are many traditional quilt blocks and free-form designs that use curves. Like many other quilting techniques, a few tips and a little practice will make curved piecing less of a struggle and open up your design choices.
Careful cutting and marking of curved pieces is critical to having a smooth curved seam. Curved seams are bias edges and will stretch easily without careful handling. Never tug when cutting and sewing, and use a dry iron to press curved seams into place. Using steam when ironing may stretch your pieces out of shape and make them uneven.
Curves With Templates
1. Make templates from template plastic or freezer paper for traditional blocks. You can also purchase acrylic templates for most common curved shapes in different sizes or use a die-cut system to cut multiple shapes accurately.
2. Be sure to follow the template as closely as possible when cutting pieces. If using a rotary blade, use the smallest rotary blade size available to easily negotiate the curves. If using scissors, trace the template shape onto the fabric and then cut on the line. Note: If the template is freezer paper, cut as closely as possible to the template edge. Be sure your scissors are sharp.
3. Find the centers of both the convex (outer curve -- piece B in Figure A) and concave (inner curve -- piece A in Figure A) edges by folding the pieces in half, finger-press and mark with a pin or cut a notch. Purchased templates and die-cut pieces should have center notches. Match the centers and pin with the convex curve on the top referring to the Drunkard's Path block in Figure A.
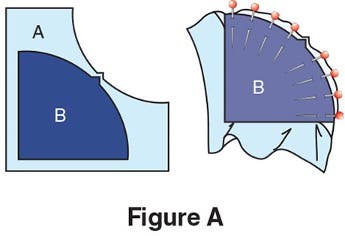
4. Match and pin the seam ends and quarter marks, pinning liberally between ends, referring again to Figure A.
5. Slowly stitch pieces together, removing pins and keeping seam edges even.
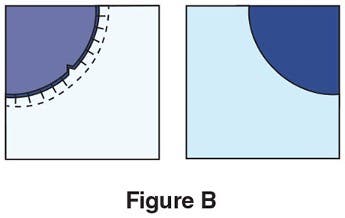
After completing the stitching, clip only the concave (inner) seam allowance if necessary. Press seam allowances flat toward the concave (inner) curve (Figure B).
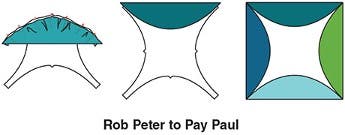
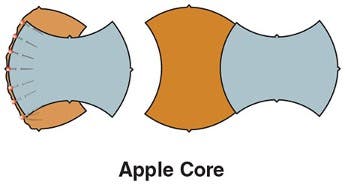
Common traditional blocks like Apple Core and Rob Peter to Pay Paul are constructed in the same manner.
Curves Without Templates
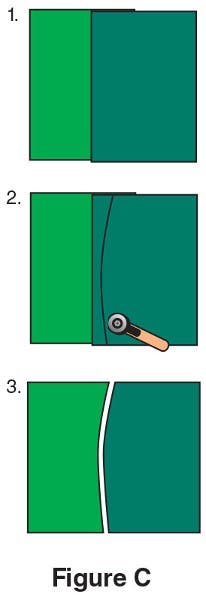
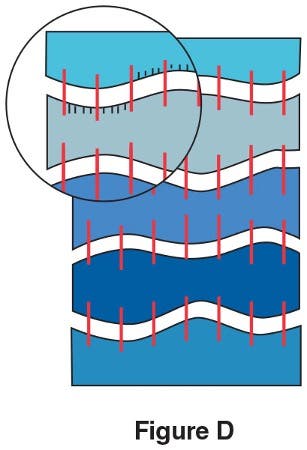
1. To make gentle curves without templates, overlap two pieces of fabric right sides up (Figure C1). Cut a gentle curve with a rotary cutter through both layers of fabric (Figure C2). Note: You can cut a single curve as shown here or an undulating curve as shown in Figure D. Just keep the curves gentle and shallow.
2. For single or undulating curves, mark across the cut pieces with curved edges matching (Figure D). Make shallow clips in the concave areas, referring again to Figure D.
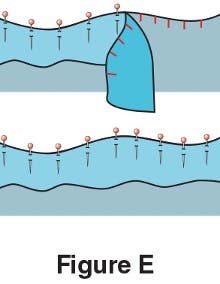
3. Pin the curved edges together, matching the marks (Figure E). Slowly stitch pieces together, removing pins and keeping seam edges even.
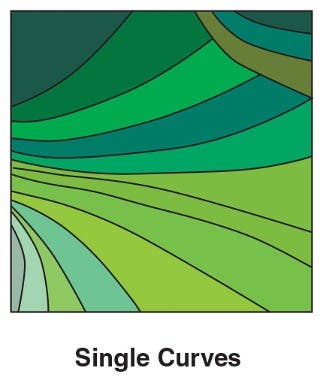
Free-form quilters use single and undulating curves to add movement or a landscape feel to their quilts.
