How to Work an Eyelet Stitch
Often used as a decorative accent, the eyelet stitch adds texture and visual interest to designs. It also can be used to create functional holes, such as those for lacing or threading ribbons.
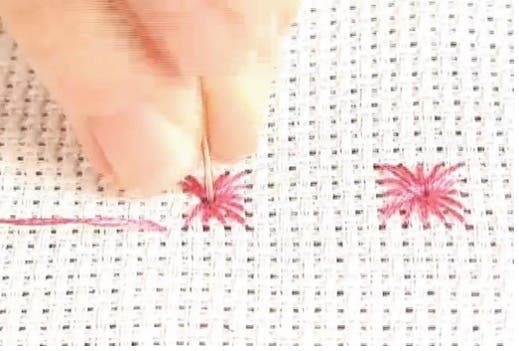
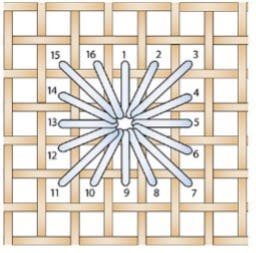
Bring needle up through the fabric at (1), then back down through the fabric at the center of the stitch as shown, pulling the thread taut. Bring the needle back up at (2) and back down through the center. Continue to follow the numbered steps in a clockwise motion until the stitch is complete. The amount of tension you use will open the center or the eye of the stitch as much as desired. This stitch can be worked over any number of squares or threads and have any number of arms or rays. Follow the chart and written instructions for your design to properly work the stitch for that given project.