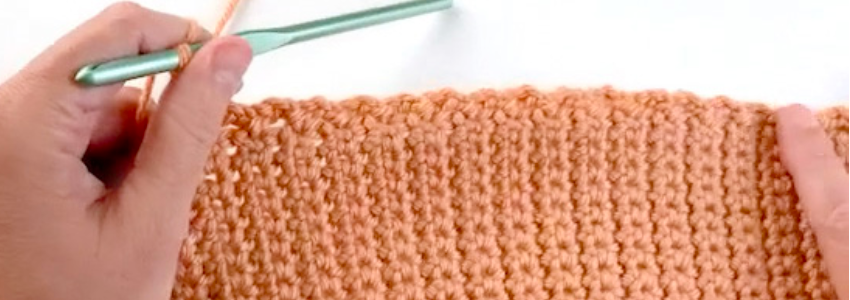
This crochet mug cozy free pattern works up quickly. There is even an optional simple edging that you can add at the end for a little flourish.
Skill Level
Beginner
Finished Measurements
3 inches tall x 91/2 inches long
Gauge
Gauge is not critical for this project.
Materials
- At least 75 yds of worsted-weight cotton, cotton blend or acrylic yarn in a color of your choice
- Premier Yarns Anti-Pilling Everyday Worsted medium (worsted) weight acrylic yarn (31/2 oz/180 yds/100g per skein):
- 1 skein or #1147-07 chinchilla, #1147-12 sage, #100-35 cappuccino #1147-11 peach melba*
- *You only need one color to make a single cozy following this crochet mug cozy pattern.
- 1 skein or #1147-07 chinchilla, #1147-12 sage, #100-35 cappuccino #1147-11 peach melba*
- Size 5.5mm crochet hook (which can also be listed as I or 9)
- Removable stitch markers:2 (optional)
- Tapestry needle for weaving in ends
What You Will Learn
In this crochet mug cozy pattern, you will learn how to hold your hook and yarn, how to make a slip knot, chain and single crochet, how to skip a stitch, how to use stitch markers, how to fasten off and how to weave in ends.
Right-handed video instructions
Left-handed video instructions
Pattern Notes
This mug cozy is created by working the cozy from side to side and then fitting it around the circumference of the mug as you work the length. Top and bottom of cozy are tacked together above and below handle. Instructions are given for an optional decorative top edge.
COZY
Row 1:
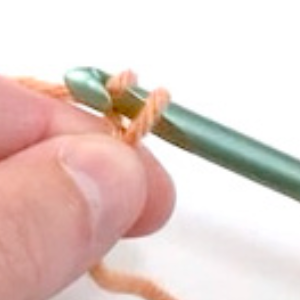
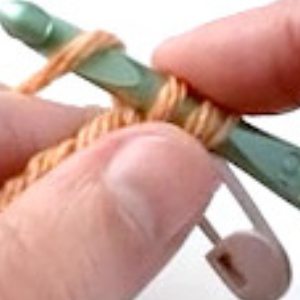
Step 1:
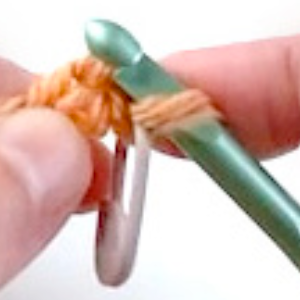
With yarn color of your choice, make a slip knot with about a 4-inch tail. Place slip knot on hook.


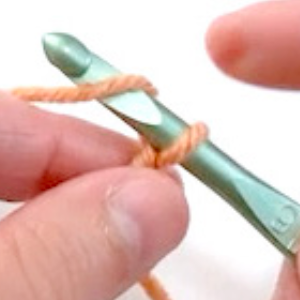
Step 2:
Chain (ch) 13. Place stitch marker in 13th chain (ch).
Tip: The stitch marker is optional. It will make it easier to see where to place your last stitch (st) when you are ready to work the next row.
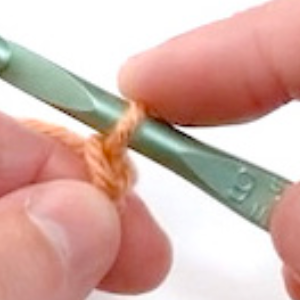
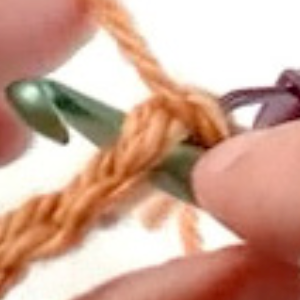
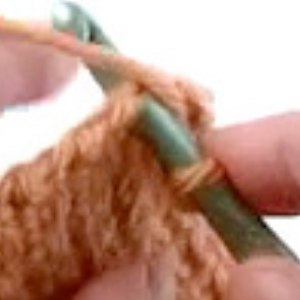
Step 3:
Turn to work back across chain (ch).
Single crochet (sc) in 2nd chain (ch) from hook.
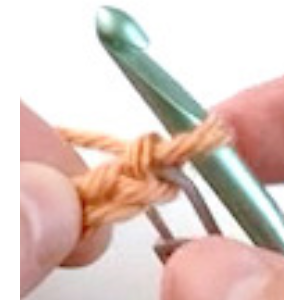
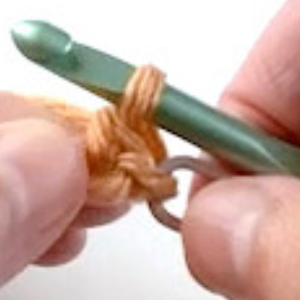
Step 4:
Single crochet (sc) in next chain (ch) and each chain (ch) across. (12 single crochet {sc})
Tip: The number in parentheses is the number of stitches (sts) you will have at the end of the row. It is good to count your stitches (sts) from time to time to make sure your count stays accurate.
Place stitch marker in last stitch (st) made.
Row 2:
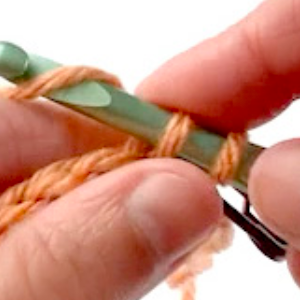
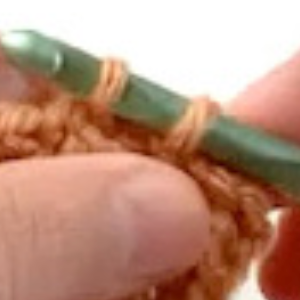
Step 5:
Chain (ch) 1 to build up the height of your row. Place stitch marker in chain-1 (ch-1).
Note: Again, this is optional but is a good guide for seeing where to place your last stitch on the next row.
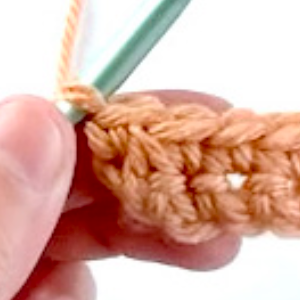
Single crochet (sc) in first stitch (st).

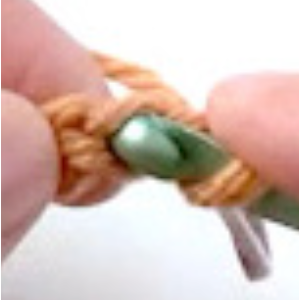
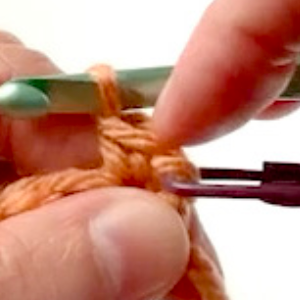
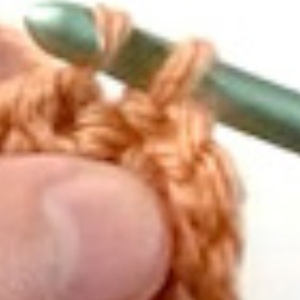
Step 6:
Single crochet (sc) in next 10 stitches (sts).
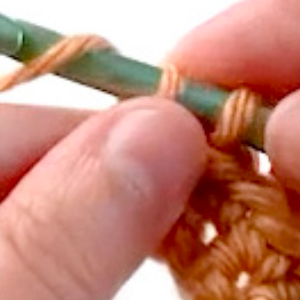
Skip (sk) last stitch (st). Single crochet (sc) in marked chain-1 (ch-1).


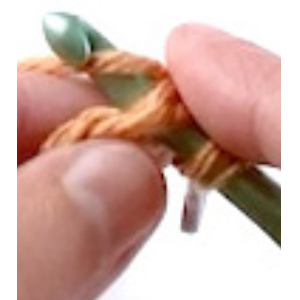
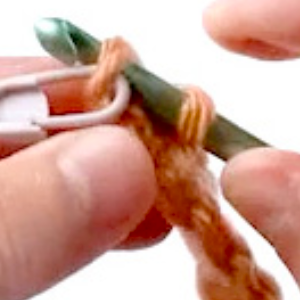
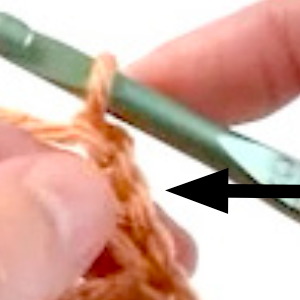
Step 7:
Turn work counterclockwise. (12 single crochet {sc})
Tip: You should still have 12 single crochet (sc). By working into the turning chain (ch—chain marked with a stitch marker), skipping the last stitch (st) and turning counterclockwise, you create nice straight edges. You could work into the top of the last stitch (st), as is traditionally taught, rather than the turning chain (ch). Then you will have little bumps along your edges.

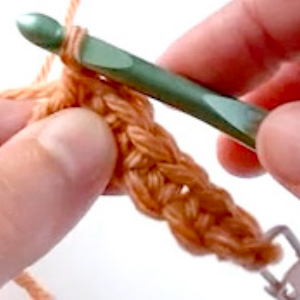
Repeat Row 2
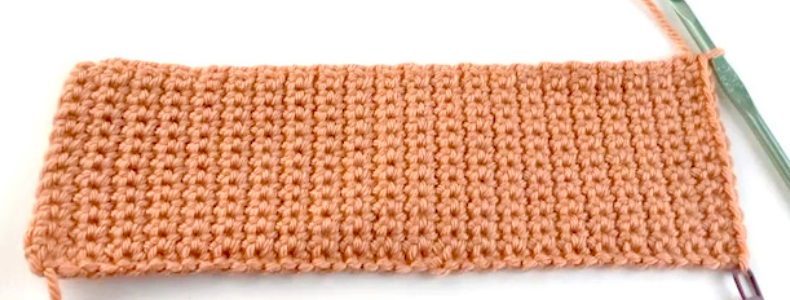
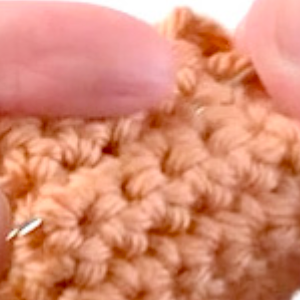
Step 8:
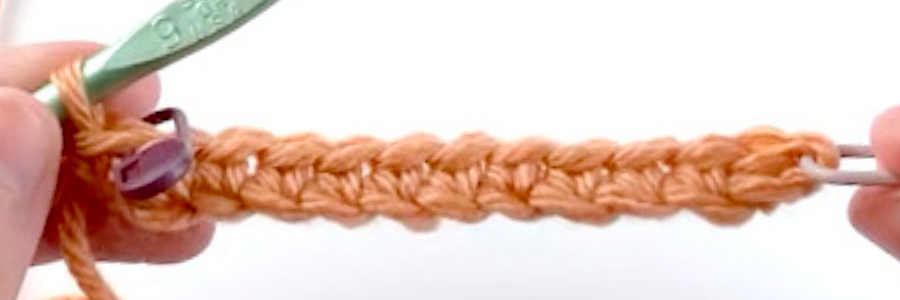
Repeat (rep) row 2 until your cozy measures about 91/4–91/2 inches from the start or until cozy wraps around your mug snugly when slightly stretched.
Tip: You may want to periodically stop working and check that your cozy is still fitting properly. Your tension can shift once you get more comfortable working the stitches (sts) and this can change the measurements on what you are making. If it does change, you can again adjust hook sizes to keep the piece even.

Step 9:
Lay your piece up against the mug you would like it to fit.
Does it fit within the height of your mug? Can you center it on your mug so that there is a bit of space below and above it?
You want your mug cozy to rest below the lip of the mug just a bit so that your lips aren’t on the cozy when you drink. If it seems to be too wide and doesn’t allow the space, undo what you have worked by pulling on the working strand and use a hook one size smaller than you are currently using. This will make your piece smaller (shorter) so that it fits below the rim of the mug.
Fasten off piece here if you do not want the decorative edge in this crochet mug cozy pattern.
Tip: Fasten off means cut the yarn, through the stitch (st)
OPTIONAL DECORATIVE EDGE
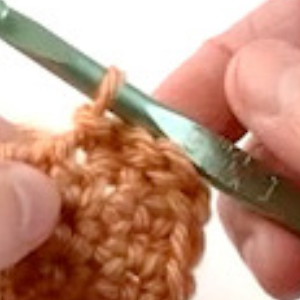
Step 10:
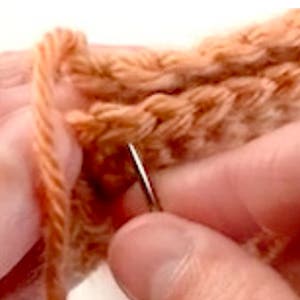
Rotate your piece to work along top edge into ends of rows.
Chain (ch) 3.
Step 11:
Skip (sk) first row.
Slip stitch (sl st) in end of next row.
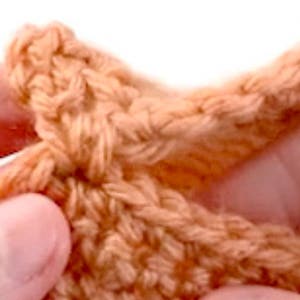
Step 12:
*Chain (ch) 3.
Skip (sk) next row. Slip stitch (sl st) in end of next row.
Repeat (rep) from * to end of mug cozy.
Fasten off, leaving a tail about 4 inches long for sewing.

Finishing
Step 13:
Take yarn tail and thread onto tapestry needle. Match row 1 to last row. Loop (Lp) yarn tail through first stitch (st) of row 1 and opposite stitch (st) on last row to tack in place.

Step 14:
Repeat (rep) on opposite end of row of stitches (sts).
Use yarn tail if it is in corresponding position. If not, use a small length of yarn to tack last stitches (sts) to each other.
Weave in yarn end.
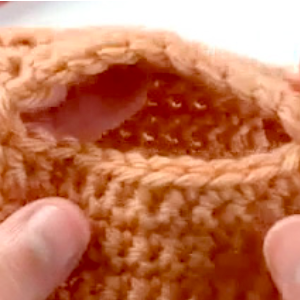
Handle of mug will fit through this opening.