Matching Angled Seams
Angled seams can be difficult to match. To make sure your angled seams match well between blocks, units or rows:
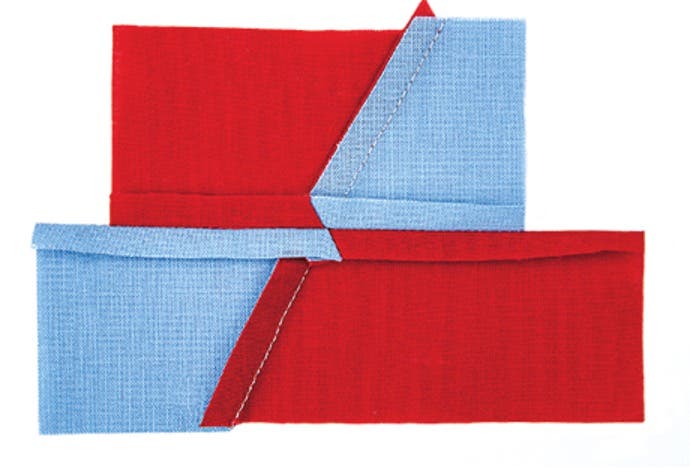
1. Press the seams in opposite directions as you would if you were matching straight seams that are to be butted or nested together (Photo A).

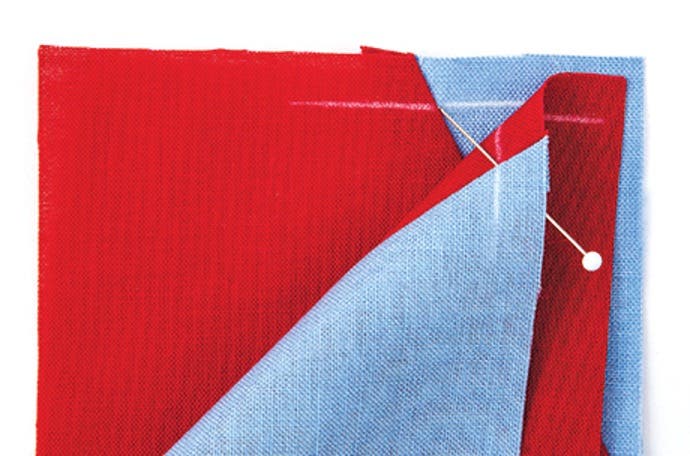
2. Mark and position a pin 1/4" from the edge through the seams at the intersection of the seam allowances where the seams will cross to form an X. Pin the edges together (Photo B).
3. Stitch the joining seam, removing the pins as you come to them. Do not stitch over the pins (Photo C).
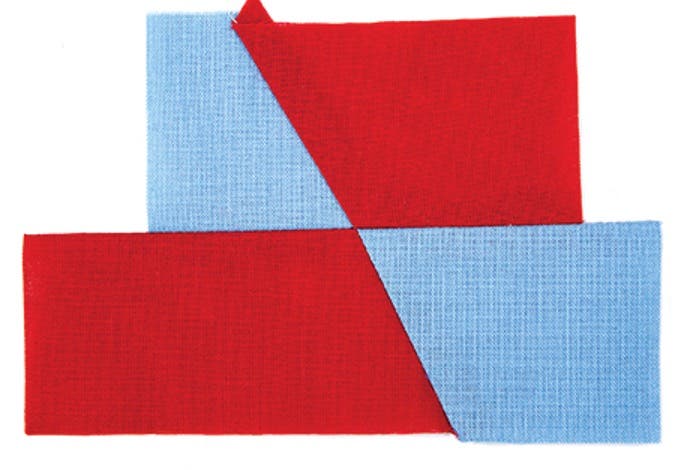
4. Press the joining seam open to distribute the fabric bulk (Photo D).